Project Development Process
The ultimate success of your project, as well as your experience and confidence during construction, will depend on both of us working together to plan every detail of your project before construction begins. At R. L. Rider Remodleing we believe in beginning with the end in mind. If we are both clear about the end goals well before construction begins, we can build your project to the agreed budget and complete it on time as promised. This can help reduce the stress and potential mid-project surprises that often come with remodeling. Our Project Development Phase is a three-step process that will allow you to move into the Build Phase with peace of mind that your project will come together beautifully.
- Project Development Meeting & Project Development Agreement
- Floor Plan Finalization
- Material Selections & Budget
- Final Design Approval & Contract
The Project Development Agreement
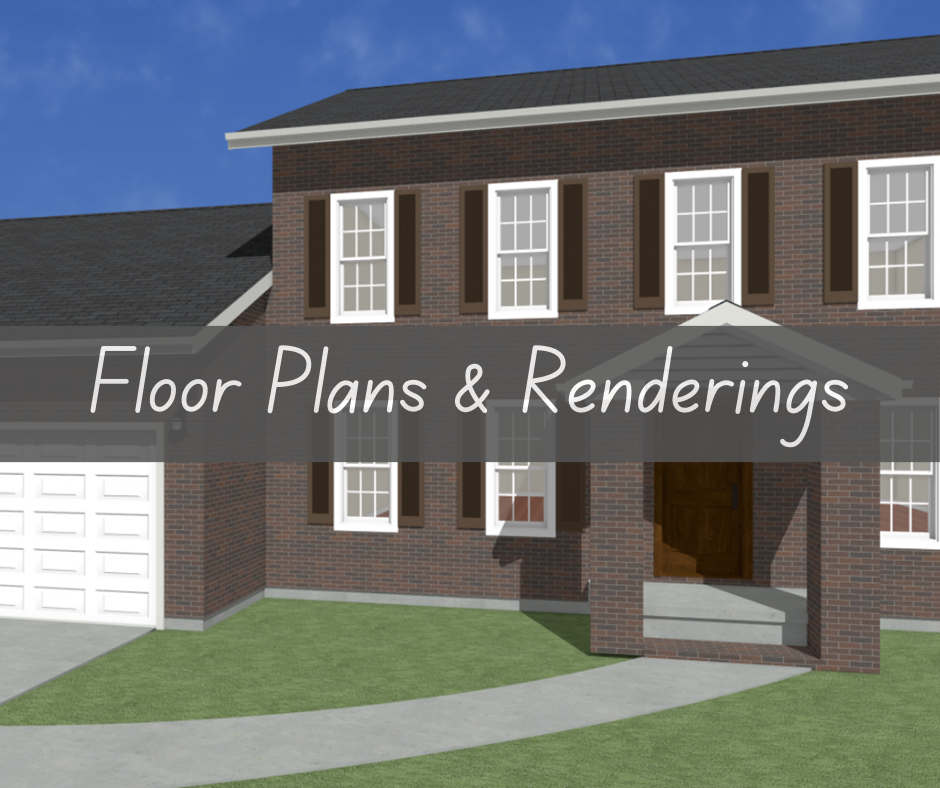
To secure your spot on the calendar, we ask that you sign our Project Development Agreement (PDA) and submit a small retainer fee. The retainer fee is not an additional charge, you will see your payment directly credited on your final construction contract, it is merely a deposit to get the ball rolling. We will schedule a Project Development Meeting, where the design team, production team, and your estimator come back out to your home to review the proposed scope of work. The design team will take the measurements they need to build your digital floor plans and renderings. They will ask questions about your design preferences and observe the existing features in your home to get an understanding for how to blend the new with the existing. Our production team will look at the home structurally. Are we moving any walls, plumbing, electrical, or ducting, and what all do we need to know beforehand. Your estimator will work with you to fill out your Project Development Agreement with your budget, scope of work, and timeline goals for the team to reference during design.
Step One: Create
The first step in the Project Development Phase is the creation step where you get to work with the design team to bring your vision to life. The Create phase has two major milestones, the floor plan and selections.
Milestone 1 – Floor Plan
Your first meeting with the design team will be primarily focused on your floor plan and fixture locations. For additions, finalizing the floor plan may take more than one meeting, while a standard size bathroom floor plan can often be completed quickly. Finalizing the locations of your plumbing, electrical, HVAC, and walls before moving into the selections allows our production team to work in the background getting quotes from our suppliers and trade partners while the design team works with you to pick out the materials you’ll love. Be prepared at this meeting to talk through how you currently use your space versus how you would like to use your space so our team can help find the best layout that makes sense for you.
Milestone 2 – Selections & Preliminary Budget
With the floor plan determined, it’s time to dive into selections! The selections milestone is the stage most homeowners enjoy the most, you get to see, touch, and feel different materials that could potentially be in your home. Lighting, flooring, accessories, we will talk through everything so that we can add your preferences into your 3D digital renderings and update your budget along the way. Our design team will work within the budget set by your transparent estimate, providing material options within budget, or finding ways to manipulate the budget around the materials that mean the most to you. Prioritizing materials gives the design team a starting point in selections. If you have a very specific color cabinet in mind, the design team can pull selections inspired by that desire. On the other hand, if you are perusing the internet and find a beautiful black composite sink you can’t live without but it’s a little more than we originally budgeted for, we can work with you to find ways to adjust the budget in other places to keep us on track. By the end of the Selections Milestone, we should have all the information we need to finalize your digital floor plans & 3D renderings, scope of work, and total project price down to the exact cent.
Step Two: Organize
Now is the time for the production team and design team to work together finalizing all the project costs. You worked diligently with the design team to finalize the layout and materials, while the production team worked in the background with our suppliers and trade partners. Every rough and finished material cost, labor cost, trade partner cost, rentals, etc. are calculated and verified for accuracy. Work orders for our trade partners are written, permit documents are prepared, and all contractual documents are written for you to review. The only thing left before construction is finalizing the details!
Step Three: Finalize
Our last step before moving into the Build Phase is getting your final sign-off on every selection, floor plan, and scope of work. We will prepare your construction contract, with your payment schedule, for you to review as well. We want you to be satisfied with every choice you’ve made during design to avoid any change orders during construction.
Once you have signed off on everything, we will order materials, send out work orders, finalize the schedule, and submit permits. Our administrative staff will prepare your material bay and job site specifications while our production team briefs the carpentry staff and answers any preliminary questions. As your materials come in, they will be checked for accuracy and damage, then stored in your material bay until the project start time. The project manager will begin the rough outline of the schedule, knowing when the materials are coming in and when we need our trade partners on site and inspections to be scheduled. Once the materials are ordered, delivery dates set, and trade partners organized, we can finalize our start date and get you prepared for the Build Phase.


